Author Contributions
Conceptualization, C.Z.; methodology, X.N., G.H., C.Z. and L.L.; validation, X.N. and G.H.; formal analysis, X.N. and G.H.; writing—original draft preparation, X.N.; writing—review and editing, C.Z.; supervision, C.Z. and L.L.; project administration, L.L.; funding acquisition, C.Z. All authors have read and agreed to the published version of the manuscript.
Nomenclature
: the input pressure of the low pressure chamber; , the output pressure of the high pressure chamber; d, the inner diameter of the low pressure chamber; D, the inner diameter of the high pressure chamber; , the diameter of the test hose assembly; , the total length of the test hose assembly; , the maximum volume; , the pressure after water is pressurized; , the pressure of pre-flush before water is pressurized; , water’s compression coefficient; , the diameter of the hose when subjected to a pressure of 100; , the diameter of the hose when subjected to a pressure of 10 MPa; , the total length of the hose when subjected to a pressure of 100 ; , the total length of the hose when subjected to a pressure of 10 , the total stroke; , the single stroke; , radial compressive stress; , tangential tensile stress; , axial tensile stress; , test pressure; , the outer wall radius of the cylinder; , the radius of the inner wall of the cylinder; , free radius of the cylinder;, the ratio of to ; , safety factor; , the theoretical calculation result; , finite element simulation result.
Figure 1.
Schematic diagram of double-acting pressurized cylinder.
Figure 1.
Schematic diagram of double-acting pressurized cylinder.
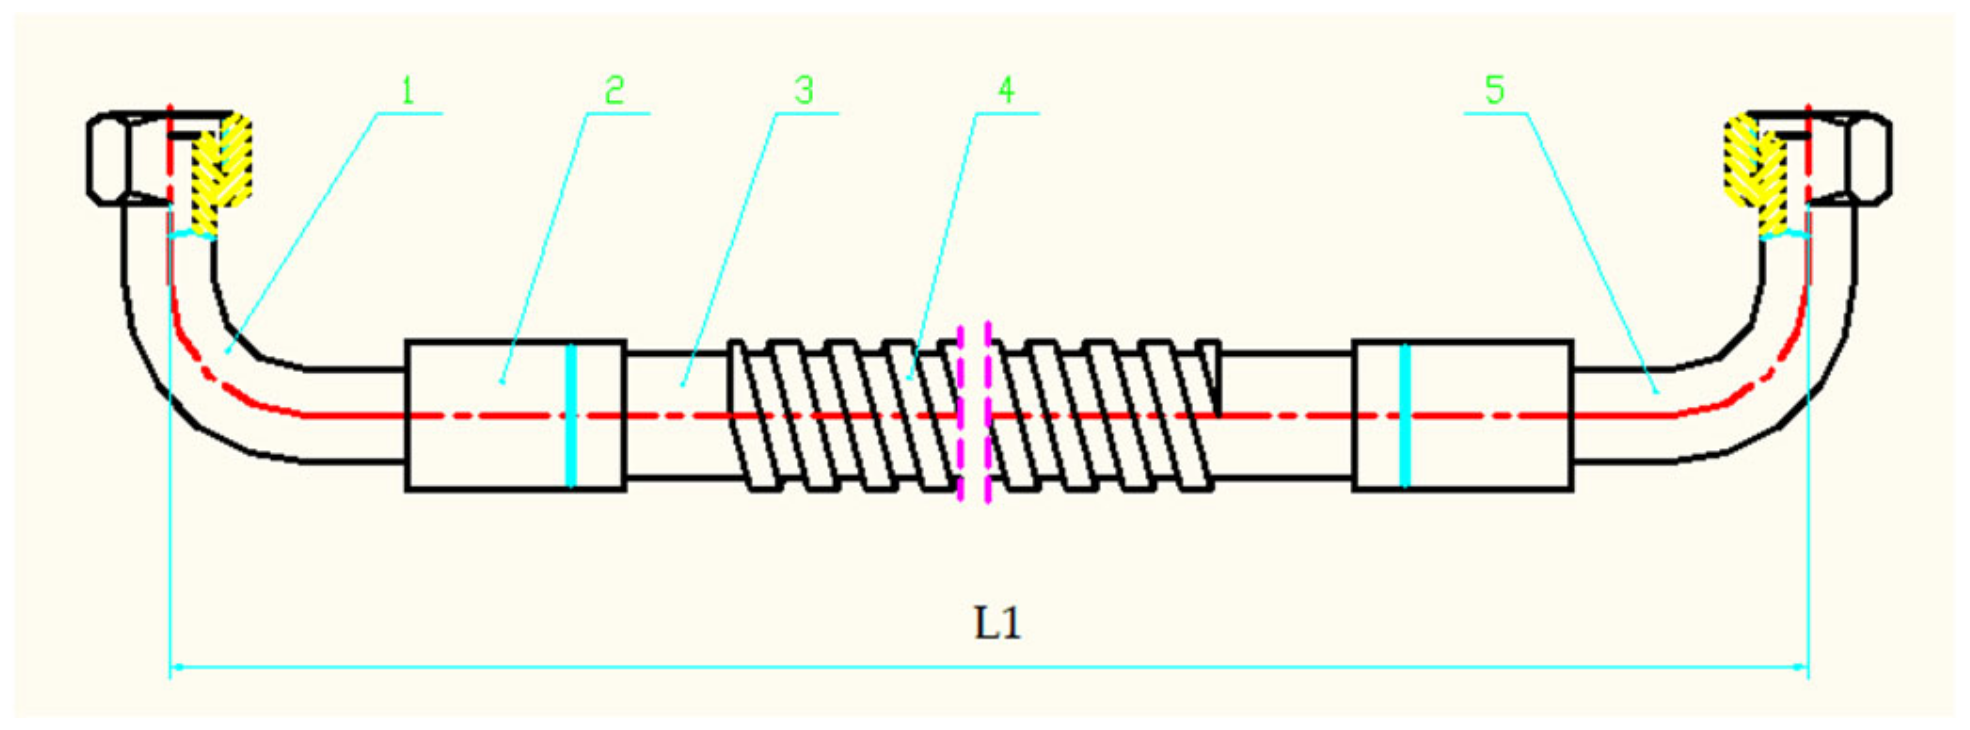
Figure 2.
Hydraulic hose assembly. 1—connector 1; 2—sleeve; 3—hose; 4—spring sheath; 5—connector 2.
Figure 2.
Hydraulic hose assembly. 1—connector 1; 2—sleeve; 3—hose; 4—spring sheath; 5—connector 2.
Figure 3.
Variation of the axial deformation of the hose with the pressure application process.
Figure 3.
Variation of the axial deformation of the hose with the pressure application process.
Figure 4.
Variation of the inner diameter of the hose with the pressure application process.
Figure 4.
Variation of the inner diameter of the hose with the pressure application process.
Figure 5.
Assembly drawing of the pressurized cylinder. 1—high pressure chamber cylinder; 2—piston rod; 3—support ring; 4—block; 5—u-slip ring combination seal; 6—low pressure chamber cylinder; 7—hole with glyph ring; 8—oil chamber; 9—O seal; 10—inlet port; 11—hex socket head bolt; 12—water chamber; 13—outlet.
Figure 6.
Stress distribution of the micro-body of a thick-walled cylinder.
Figure 6.
Stress distribution of the micro-body of a thick-walled cylinder.
Figure 7.
3D modeling of the pressurized cylinder.
Figure 7.
3D modeling of the pressurized cylinder.
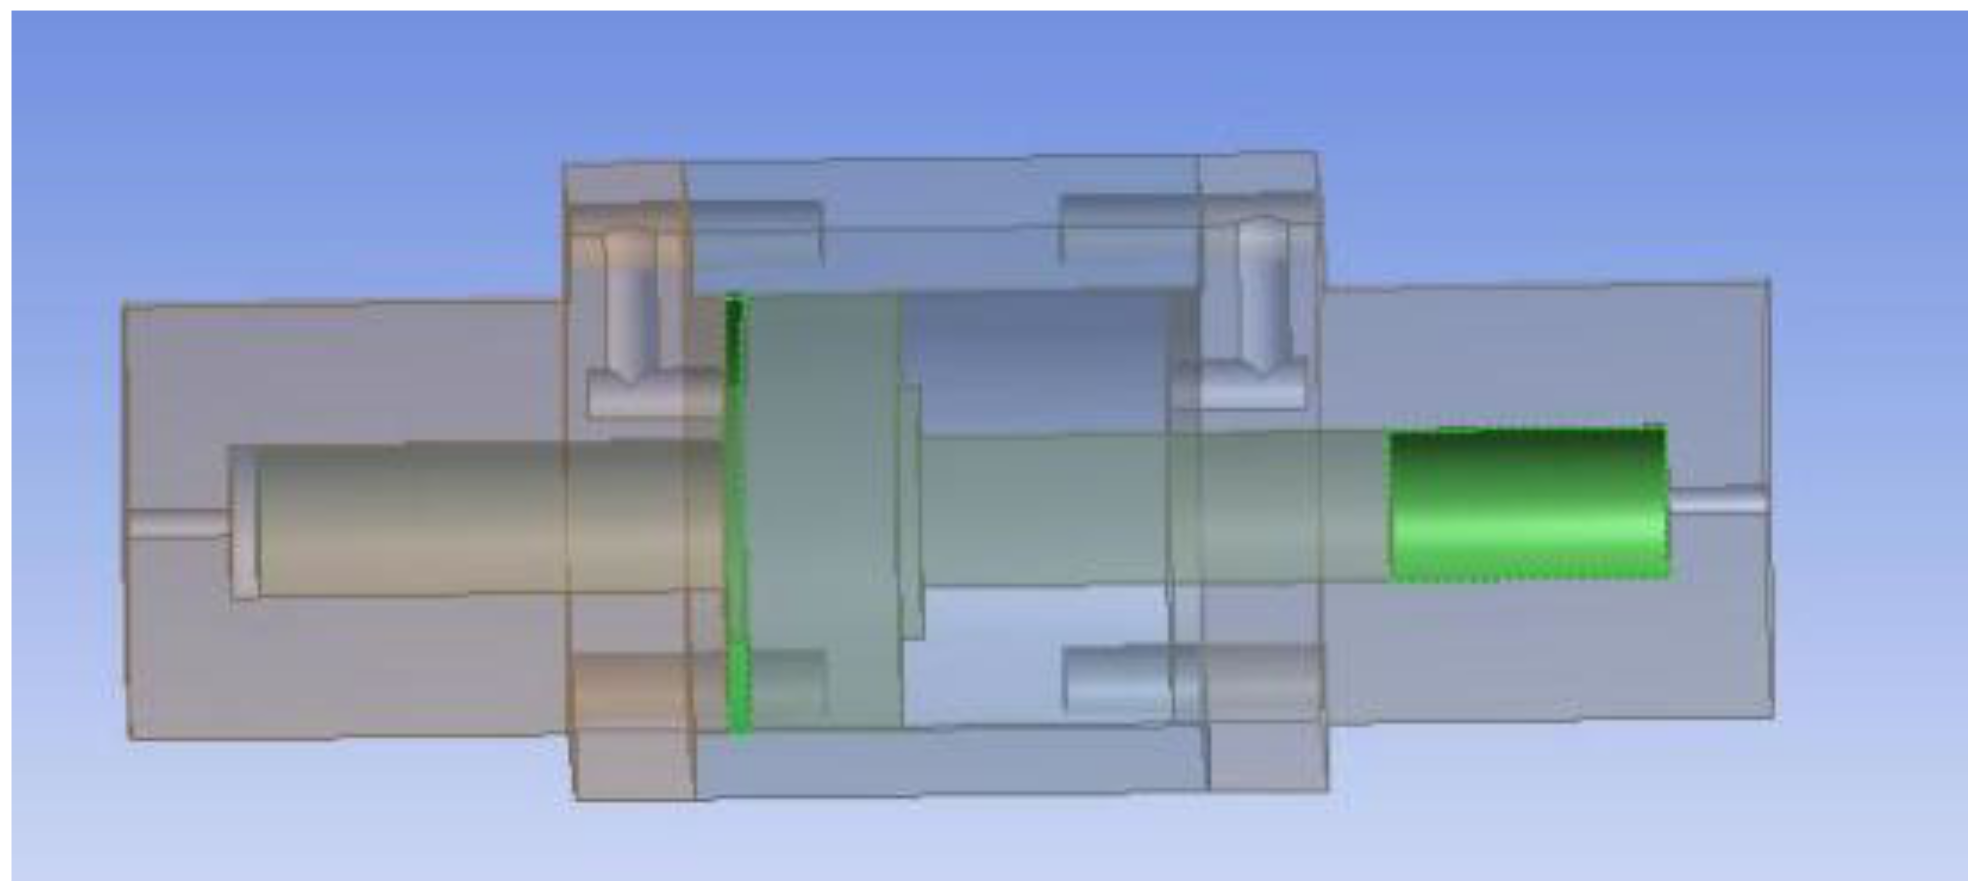
Figure 8.
The piston is at the leftmost end.
Figure 8.
The piston is at the leftmost end.
Figure 9.
The piston is at the mid end.
Figure 9.
The piston is at the mid end.
Figure 10.
The piston is at the far right.
Figure 10.
The piston is at the far right.
Figure 11.
Stress analysis cloud and strain analysis cloud diagram when the piston is at the leftmost end.
Figure 11.
Stress analysis cloud and strain analysis cloud diagram when the piston is at the leftmost end.
Figure 12.
Stress analysis cloud and strain analysis cloud diagram when the piston is at the middle end.
Figure 12.
Stress analysis cloud and strain analysis cloud diagram when the piston is at the middle end.
Figure 13.
Stress analysis cloud and strain analysis cloud diagram when the piston is at the far right.
Figure 13.
Stress analysis cloud and strain analysis cloud diagram when the piston is at the far right.
Figure 14.
Booster circuit diagram. 1—tank; 2—motor; 3—vane pump; 4 and 23—pressure gauge; 5—pilot type proportional relief valve; 6—three four way solenoid valve; 7—superimposed hydraulic control check valve; 8—double acting booster cylinder; 9 and 10—water single Valve; 11—Water suction port; 12 and 13—water outlet check valve; 14—Filling port; 15—Low-pressure spillway valve; 16–18—high pressure check valve; 19,20,24 and 28—high pressure needle valve; 21—large valve block; 22—lressure transmitter; 25—small valve block; 26—experimental device; 27—high pressure filter; 29—high pressure pneumatic control valve; 30—circulating water outlet; 31—pneumatic triplex; 32 and 33—electromagnetic reversing.
Figure 15.
Experimental platform diagram.
Figure 15.
Experimental platform diagram.
Figure 16.
Experimental study on maximum hose capacity.
Figure 16.
Experimental study on maximum hose capacity.
Figure 17.
Pressure in the hose changes with pressurization time.
Figure 17.
Pressure in the hose changes with pressurization time.
Figure 18.
Two hose assembly experiments.
Figure 18.
Two hose assembly experiments.
Figure 19.
Four hose assembly experiments.
Figure 19.
Four hose assembly experiments.
Figure 20.
Six hose assembly experiments.
Figure 20.
Six hose assembly experiments.
Figure 21.
Pressure time curve of two hose assemblies.
Figure 21.
Pressure time curve of two hose assemblies.
Figure 22.
Pressure time curve of four hose assemblies.
Figure 22.
Pressure time curve of four hose assemblies.
Figure 23.
Pressure time curve of six hose assemblies.
Figure 23.
Pressure time curve of six hose assemblies.
Table 1.
Hose parameter.
| Content | Numerical Value |
|---|
| brand | GATES |
| type | 12EFG6K |
| diameter | 25 mm |
| length | 6000 mm |
Table 2.
Pre-set parameters of the pressurized cylinder.
Table 2.
Pre-set parameters of the pressurized cylinder.
| Pre-Set Content | Numerical Value |
|---|
| inner diameter of high pressure cavity (mm) | 45 |
| number of piston runs | 3 |
| boost ratio | 1:7 |
| pressure of high pressure cavity (MPa) | 100 |
| pressure of low pressure cavity (MPa) | 10 |
Table 3.
Actual design parameters of the pressurized cylinder.
Table 3.
Actual design parameters of the pressurized cylinder.
| Actual Content | Numerical Value |
|---|
| single stroke (mm) | 65 |
| inner diameter of low pressure cavity (mm) | 130 |
| inner diameter of high pressure cavity (mm) | 45 |
| boost ratio | 1:7.3 |
| pressure of low pressure cavity (MPa) | 13.7 |
| pressure of high pressure cavity (MPa) | 100 |
Table 4.
Pressurized cylinder stress parameters.
Table 4.
Pressurized cylinder stress parameters.
| Cylinder’s Name | Maximum Stress (MPa) | Safety Factor | Tensile Strength (MPa) |
|---|
| high pressure cylinder | 220.65 | 2.71 | 600 |
| low pressure cylinder | 50.12 | 11.97 | 600 |
Table 5.
45# Steel material parameters.
Table 5.
45# Steel material parameters.
| Parameter Name | Parameter Value |
|---|
| elastic modulus (GPa) | 210 |
| Poisson’s ratio | 0.269 |
| Density (g/cm3) | 7.85 |
| yield strength (MPa) | not less than 355 |
Table 6.
Calculation results for different meshs.
Table 6.
Calculation results for different meshs.
| Mesh Name | Size | Amount | Maximum Stress (MPa) |
|---|
| mesh-1 | 1 | 1,337,104 | 236.50 |
| mesh-2 | 1.5 | 581,427 | 236.02 |
| mesh-3 | 2 | 321,387 | 236.80 |
| mesh-4 | 2.5 | 201,824 | 235.91 |
| mesh-5 | 3 | 137,451 | 234.47 |
| mesh-6 | 3.5 | 99,112 | 232.17 |
| mesh-7 | 4 | 74,851 | 230.42 |
| mesh-8 | 4.5 | 57,043 | 223.29 |
| mesh-9 | 5 | 46,196 | 219.50 |
| mesh-10 | 5.5 | 38,838 | 217.83 |
Table 7.
Comparison between simulation results and theoretical calculation results.
Table 7.
Comparison between simulation results and theoretical calculation results.
| Method | High Pressure Cylinder Stress (MPa) | Low Pressure Cylinder Stress (MPa) | Piston Rod Stress (MPa) |
|---|
| finite element simulation result | 258.07 | 52.89 | 101.97 |
| theoretical calculation result | 220.65 | 49.09 | 100 |
| E (%) | 16.96 | 7.74 | 1.97 |
Table 8.
Sheet of Pressure test data (MPa).
Table 8.
Sheet of Pressure test data (MPa).
| | Time(s) | 0 s | 1 s | 2 s | 3 s | 4 s | 5 s | 6 s | 7 s | 8 s | 9 s | 10 s | 11 s | 12 s |
|---|
| Group | |
|---|
| 1 | 5.0 | 8.5 | 13.1 | 19.0 | 21.2 | 32.5 | 43.1 | 54.1 | 66.0 | 74.8 | 80.7 | 85.0 | 85.0 |
| 2 | 5.0 | 8.9 | 14.0 | 20.1 | 20.9 | 32.4 | 44.8 | 53.2 | 65.0 | 73.0 | 80.2 | 84.6 | 84.9 |
| 3 | 5.0 | 8.7 | 14.2 | 18.2 | 19.9 | 33.1 | 43.9 | 53.9 | 66.7 | 75.1 | 80.9 | 84.9 | 84.9 |
| 4 | 5.0 | 8.7 | 12.5 | 18.9 | 20.1 | 31.5 | 44.5 | 52.6 | 66.8 | 74.9 | 80.8 | 84.3 | 85.1 |
| 5 | 5.0 | 8.3 | 12.7 | 20.0 | 20.7 | 33.2 | 43.8 | 53.4 | 66.5 | 76.1 | 81.2 | 85.1 | 85.1 |
| 6 | 5.0 | 8.5 | 13.9 | 18.5 | 20.3 | 33.0 | 43.6 | 53.1 | 65.2 | 74.8 | 81.0 | 84.8 | 84.9 |
| 7 | 5.0 | 8.6 | 13.2 | 18.8 | 19.8 | 33.2 | 43.5 | 54.0 | 65.9 | 73.3 | 80.5 | 84.8 | 84.9 |
| 8 | 5.0 | 8.3 | 12.8 | 17.9 | 20.3 | 33.0 | 44.7 | 53.2 | 65.3 | 74.5 | 80.9 | 84.6 | 85.0 |
| 9 | 5.0 | 8.7 | 13.4 | 20.1 | 20.4 | 33.6 | 43.7 | 53.5 | 65.8 | 74.8 | 80.9 | 84.5 | 84.9 |
| Mean value | 5.0 | 8.6 | 13.3 | 19.1 | 20.4 | 32.8 | 44.0 | 53.4 | 65.9 | 74.6 | 80.8 | 84.7 | 85.0 |
Standard
deviation | 0 | 0.19 | 0.57 | 0.78 | 0.43 | 0.58 | 0.55 | 0.46 | 0.62 | 0.88 | 0.28 | 0.24 | 0.08 |


